
Upon configuring eRS collections, you may notice an issue whereby the collections will fail to run, be highlighted in red and an error is displayed under the collection stating the 1 of two errors;
- Failure reason: The request was aborted: Could not create SSL/TLS secure channel.
- Failure reason: 500 internal server error.
This issue is caused when the eRS certificate that is provided is not in the correct directory, or it is the correct directory but has not been installed.
Please see below for a guide on how to install the eRS certificates required to allow the collections to run as expected;
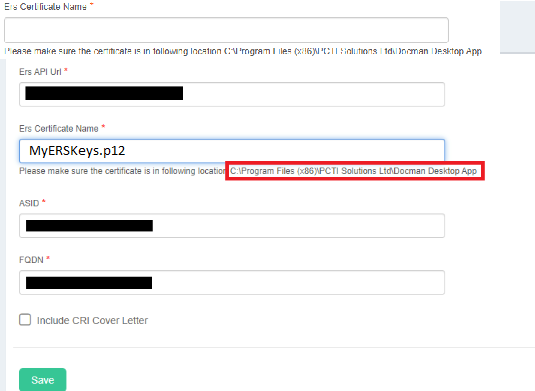
Fig. 1
Within RMS 10, you will see in the settings that you’re able to locate the certificate based upon the existing configuration. The Name is stated in there as shown above, and the location of the certificate is quoted below the certificate name.
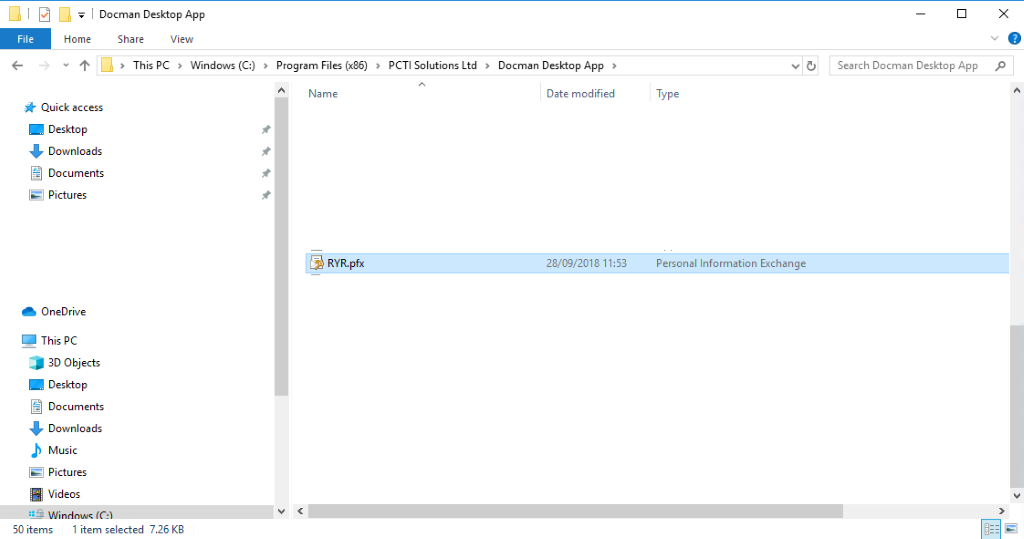
Fig. 2
If you navigate to the directory quoted in Fig. 1, you will find the certificate. The certificate will either have the file format of .PFX, .P12, .P7B or .SST. As you can see in Fig. 2, the certificate used has the extension .pfx. If the certificate is not there, please ensure that it is placed in here. Same goes if it is named incorrectly, simply rename the certificate to match the name stated in the config in Fig. 1
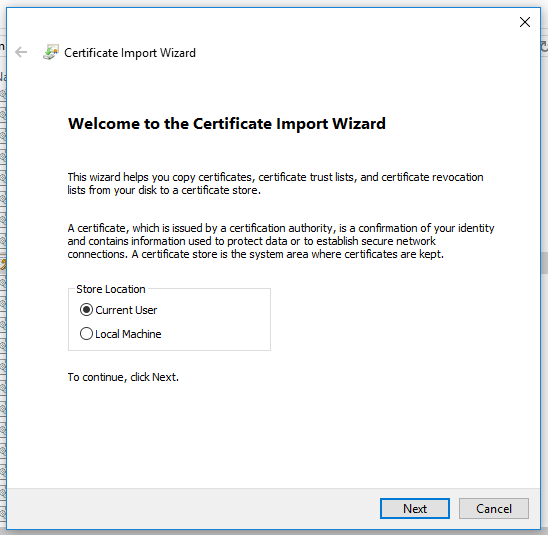
Fig. 3
If the certificate is in the correct directory and has the correct name, double click the certificate to begin the installation process.
Upon double clicking the certificate, you will see the prompt appear to have the option to install the certificate for the current user or the local machine. In the current instance, we’re going to install it for the current user as you require administrator credentials to install it for the local machine.
Once you have selected the current user, please click “Next”.
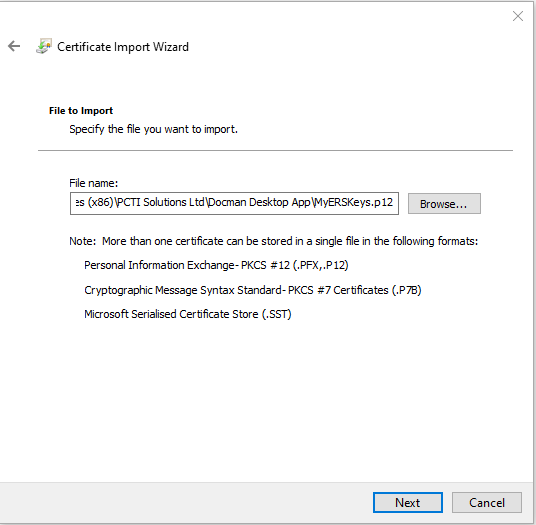
Fig. 4
You will now be prompted to select the certificate you are wanting to export. If you’ve double clicked the correct certificate after confirming it is in the correct location and it’s got the correct name, the location should already be there as default and does not require changing. Click “Next”
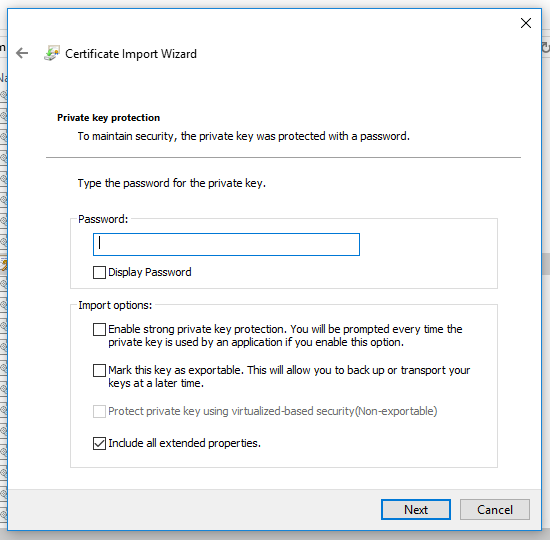
Fig. 5
The certificate installation advises that the key is protected with a password however the password field is left blank and should be able to resume with no issues. None of the import options are selected (excluding the default selected “Include all extended properties”).
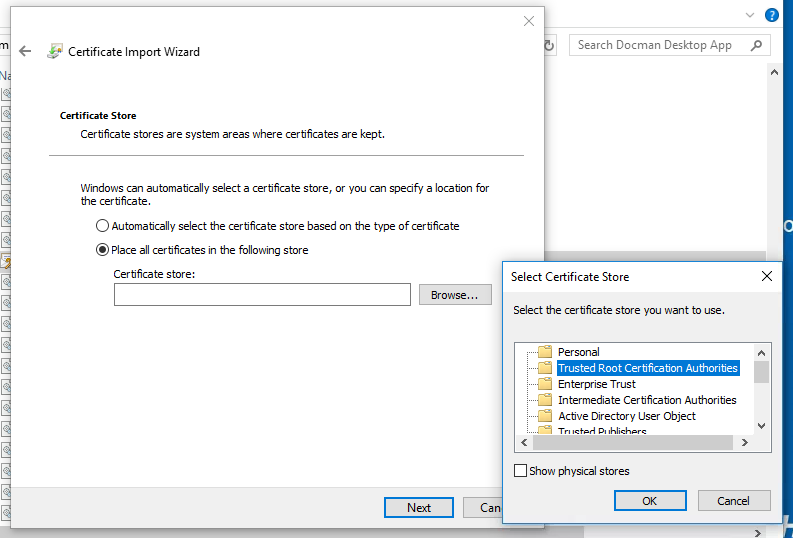
Fig. 6
When installing a certificate, you need to choose a certificate store where the certificate credentials are kept/installed. By default, the top option is selected, however we need to install this in the Trusted Root directory. To select the trusted root certificate store, please select the 2nd option, then click “Browse…”. In this list, you will see the trusted root certification authorities. Please select this certificate store and click “OK”, then click “Next”.
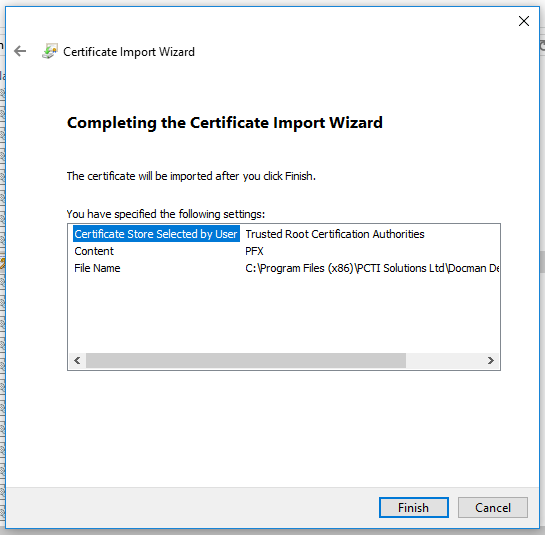
Fig. 7
Once selecting the certificate store, it will provide an overview of the configuration that you have set up. The settings above should be closely replicated, barring the file directory if it is stored elsewhere, however it is advised to install this in the Docman Desktop App location. Please click “Finish”.
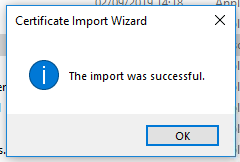
Fig. 8
Once you have clicked “Finish”, the certificate will be installed. Once installed, test an eRS Collection to ensure the collections can be run without any issues.