
The deployment of the Docman Cloud Enabler Application (DCEA) is done via either a manual or automated installation using an MSI file.
Prerequisites
Before installing the DCEA you need to ensure that both to the URL’s below can be accessed using tcp port 443. The first link is used for transferring the files to Docman 10 and connects through your HSCN/SWAN Connection. The second link is used for tracking the progress of your document synchronisations. Without either of these being accessible the cloud enabler tool will not function correctly.
England and Wales
Scotland
Locating the Docman Server
Before continuing check the following to confirm you are on the correct server.
- Open C:\PCTI
- Open services.msc and look for the MySQL Service
- If either the C:\PCTI directory doesn’t exist or the MySQL service doesn’t exist then you are not the Docman server.
![]()
Installation – Guide
The Cloud Enabler App
On the Docman 7 Server download the Cloud Enabler App using the below link and then run the MSI file once the download has completed. Once the Cloud Enabler has been installed don’t attempt to reinstall or upgrade to a newer version the Cloud Enabler App as each version of the cloud enabler app has a unique set of tables that are automatically configured when you run the cloud enabler app runs for the first time. Reinstalling or Installing a different version will cause the database to crash as they are not backwards or forwards compatible with each other. The latest version can be obtained using the below.
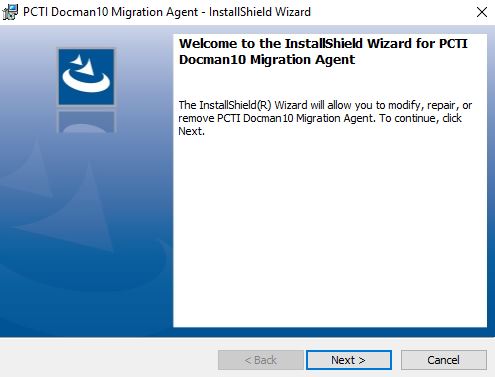
Once you have launched the MSI file at the first screen click on “Next“. At the second screen click on “Install” and the application will be installed as shown below.
Once you reach this screen click on “Finish“
Task Schedule Setup
After the cloud enabler has been installed open File Explorer and navigate to “C:\Program Files (x86)\PCTI Solutions Ltd\PCTI Docman10 Migration Agent\”
If you are using a 32bit Operating system the folder will be “C:\Program Files\PCTI Solutions Ltd\PCTI Docman10 Migration Agent\”
Now run the file PCTI.DM10.Migration.Console.exe (You may need to right-click and select Run as Administrator)
Press Y when prompted to add the scheduled task.
You can now run the task and check the logs to confirm it is working.
Accessing Log Files
The log files are generated every time the Cloud Enabler App is run. Every day it will create a new log file with a date stamp as shown below.

These files will be located in the installation folder.
Checking The Document Sync Is Enabled
This check verifies that the site is enabled on Docman’s centralised Migration Controller. You can check whether we have enabled document migration by looking in the Cloud Enabler App log file.
If document migration is enabled the DocumentMode will be set to Resume if not it will be Paused. The DatabaseMode will usually be in None, but sometimes will be in Test depending on whether we are trying to run a test migration. Once a test migration has been run it will revert back to None. When a test migration starts this will not impact the use of the Docman 7 as it just sends us a copy of the last backup.
Enabled
Received commands to run in DatabaseMode ‘None’; DocumentMode ‘Resume’.
Not Enabled
Received commands to run in DatabaseMode ‘None’; DocumentMode ‘Pause’.
Checking Your Account Has Access to the Fileshare
In the log file you should see an entry for all files that have been processed to date, if the account you are using doesn’t have access you will see the following message against every document
Unable to find document
If you see this message against every document this either means that the fileshare is off-line or the account you are using doesn’t have the necessary access rights to the fileshare location. If this is the case you should check the account has the correct privileges and if not correct.
If you only see this message against 1 or 2 files then this is likely to be because the file doesn’t exist in the Document Store but does exist in the Docman database (Orphan Document). This does not mean that there is a problem accessing the Fileshare. i.e. If you only see this recorded against a very small number of files no action is required by you. These file failures are recorded centrally with Docman and will be monitored by Docman and appropriate action taken.
Permissions
If the Cloud enabler does not have the required permissions to upload documents, the solution is to set the Cloud Enabler to run using another account that does have access (such as the logged in user).
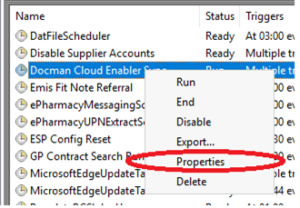
If you open the Task Scheduler, find the Docman Cloud Enabler, right click and select Properties
Now click Change User or Group and then enter the current username and then click okay.
And then click ‘Run only when user is logged on’ and click OK.