
Downloading the Printer Drivers
The Docman Printer Drivers for Docman Connect can be downloaded from a number of locations:
- First, by accessing the following URL and scrolling down to Connect: https://apps.docman.com/
- Or second by logging into the Connect console and clicking on “Help” in the top right of the screen, then “Print Driver”.
Installing the Printer Drivers
- Once the Printer Driver has been downloaded to your computer, either double click the downloaded file in your Downloads folder or single click the downloaded file in your browser.
This will open the Docman Printer Driver install wizard as shown below.
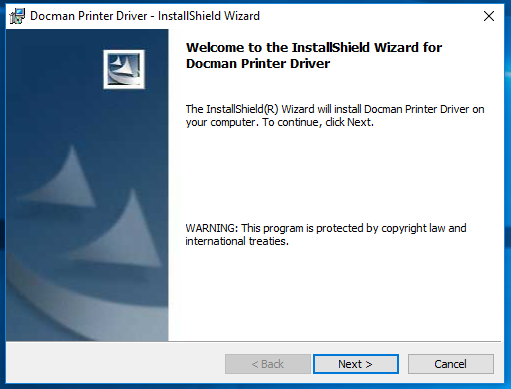
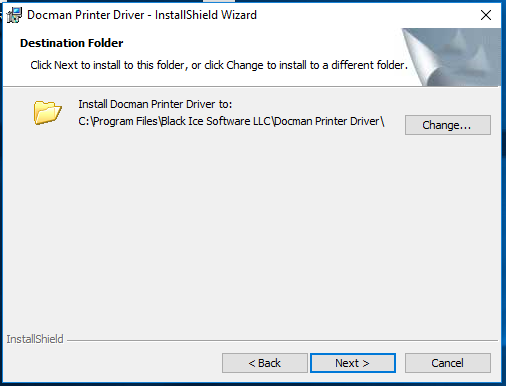
2. Click Next and check that you are happy with the install location, this is set by default to your Program Files. If happy then click Next and the install will run.
Configuring your Printer Driver
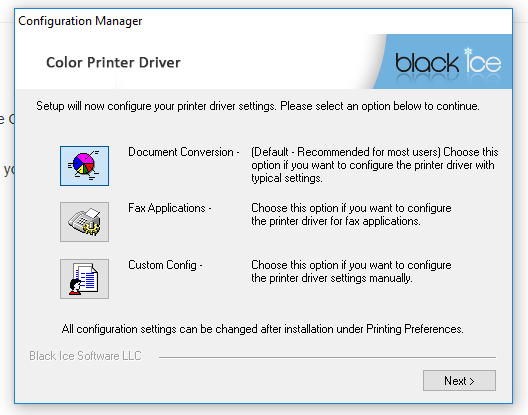
- Once the install has complete, the configuration window will be displayed as shown below. We need to configure the Printer Driver so that we can successfully connect to the Docman Connect application. Click Custom Config and then click Next.
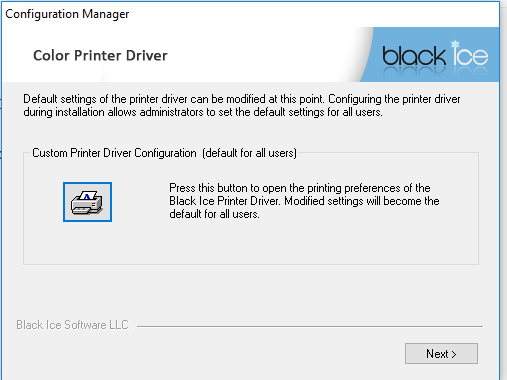
2. Click the Printer Icon as shown below in the blue box.
Docman Printer Properties
3. This will open the Docman Printer Properties window as shown below. Select the File Format tab at the top of the windows and we now need to configure the printer with the correct settings. Please use the settings below:
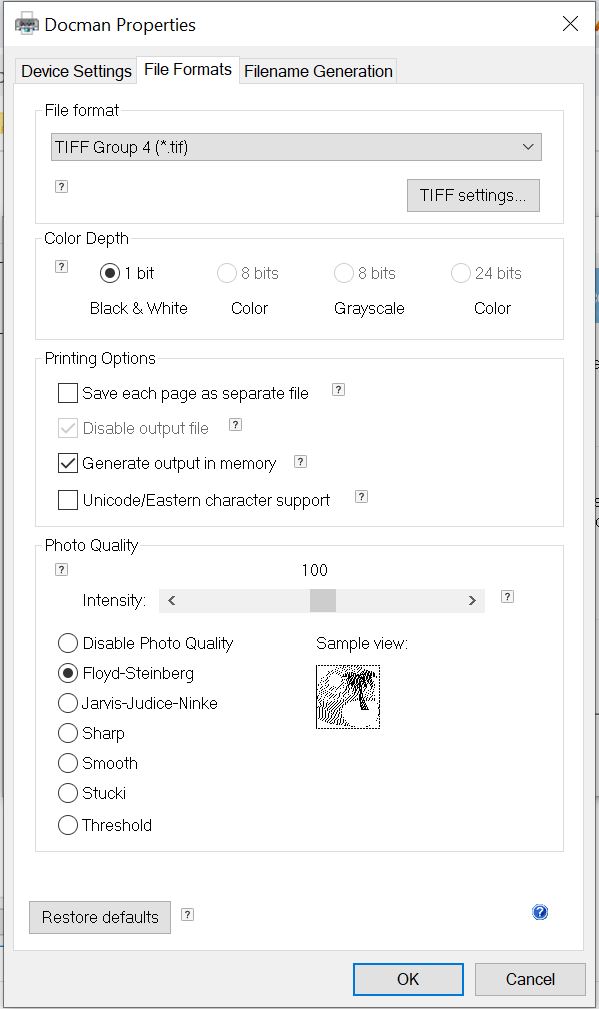
File Format = TIFF Group 4 (*.tif)
Colour Depth = 1 bit Black & White
Printing Options = Tick Generate output in memory
Photo Quality = Floyd-Steinberg
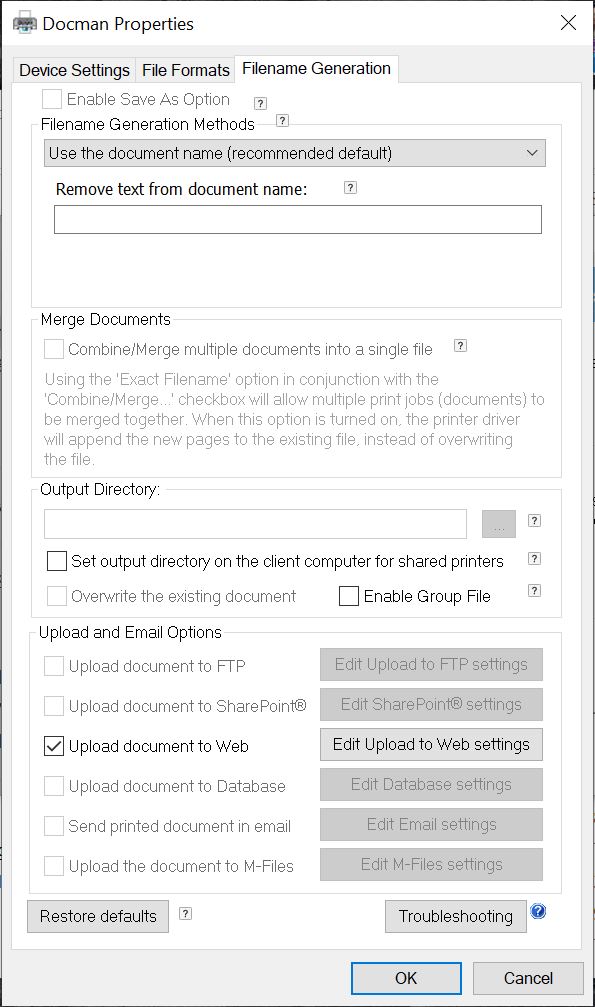
4. Once you have configured the file format, click the Filename Generation tab at the top of the window. Look for the Upload and Email Options section and make sure the checkbox for Upload document to Web is ticked as shown below. Click Edit Upload to Web Settings.
5. We now need to connect the printer driver to the Connect application.
Please use the following settings, your configuration should look like the below screenshot but with the appropriate URL.
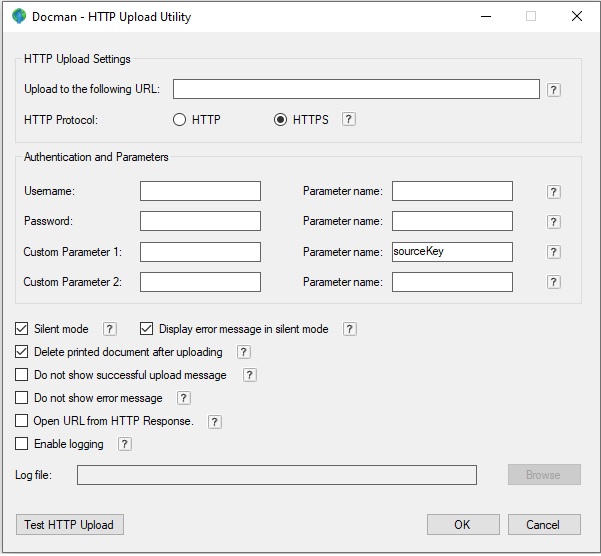
Upload to the following URL = https://console.docman.thirdparty.nhs.uk/upload/printeddocument (Production URL)
or https://console.ss1.docmansandpit.com/upload/printeddocument (Sandpit URL)
Custom Parameter 1 = Leave blank for now!
Parameter Name = sourceKey
Generating your Print Key
You may have noticed that we left the Custom Parameter field blank. In order to get the key needed for this field we now need to log back into Connect.
Leave the Docman – HTTP Upload Utility window open!
- Open Google Chrome or Edge browser
- Log into the Connect console
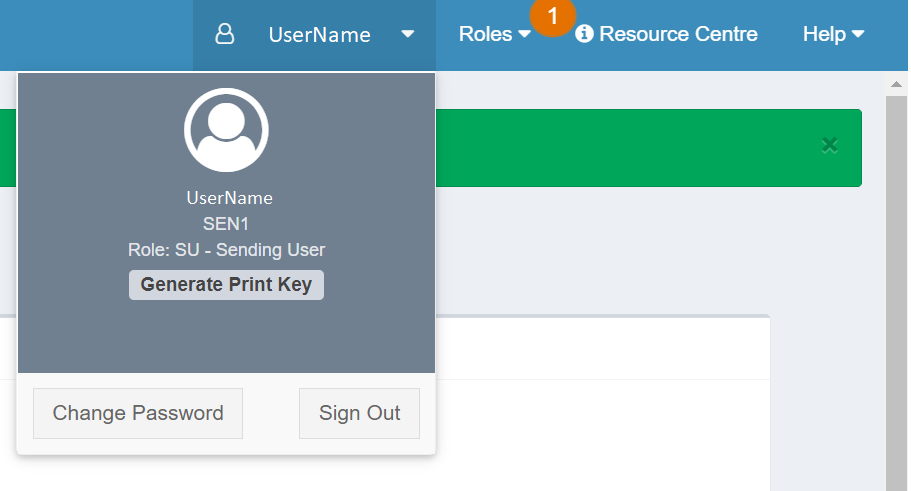
- Click your name in the top right of your screen
- Click Generate Print Key as shown below
4. Click View Print Key
5. Copy the key displayed on your screen. This can be done by highlighting the key and either pressing Ctrl + C or Right-click and select Copy.
Finishing you configuration
- With your Print key copied, you now need to return to the Docman – HTTP Upload Utility window.
2. Paste your Print key in the Custom Parameter field adjacent to your populated Parameter Name.
Your configuration should now look like the below screenshot.

3. Before we finish, click Test HTTP Upload
If you get a failure message then check the URL and try step 3 again.
If you get a success message then proceed to next step.
4. Click OK
5. On the Configuration Manager window shown below, click Next.
6. On the Install wizard as shown below, click Finish.
Install Complete!
You can now use the Docman Printer driver when printing from your computer. This will upload your document to the Connect Capture page and will show in the list of captured documents down the right side.